Capture a straight view and a room view
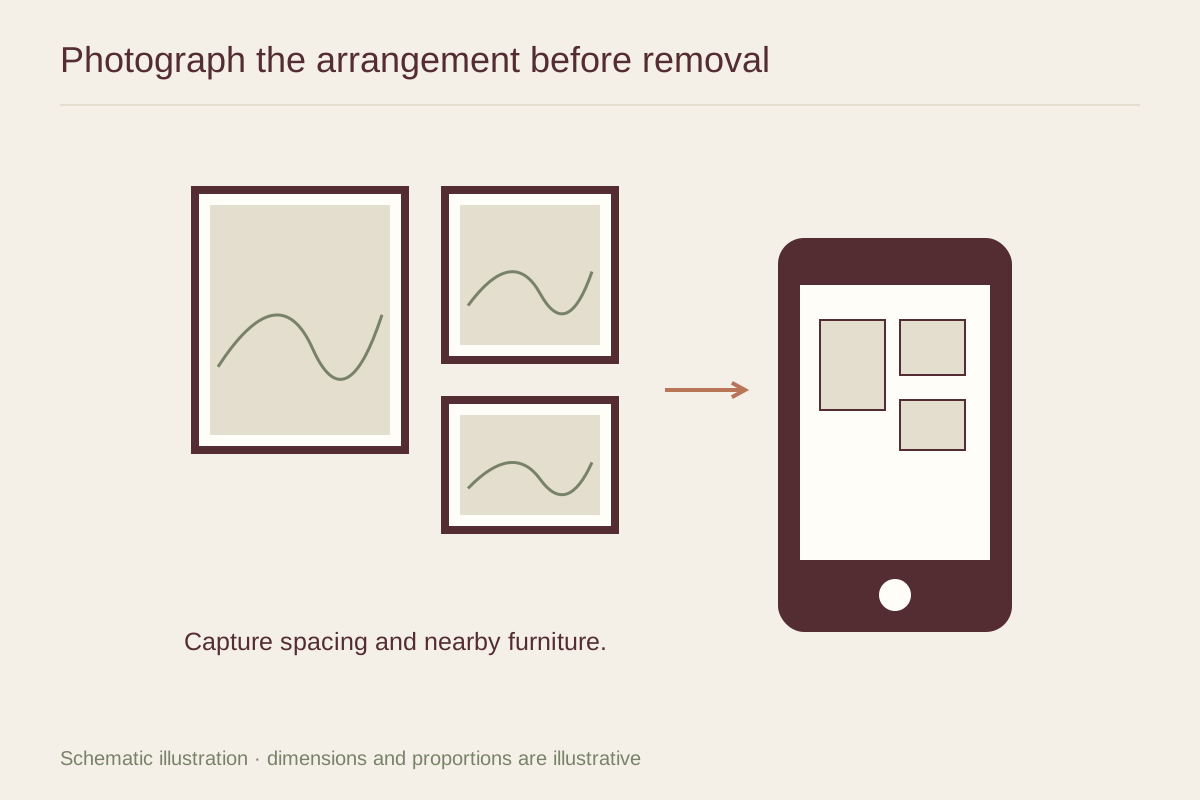
Take one photograph as square to the wall as practical, keeping the whole arrangement visible. Then take a wider view that includes nearby furniture, doors, and windows. The close view helps with spacing; the room view explains why the group sat where it did.
Avoid using only an angled photograph from a doorway. Perspective can make equal gaps look different and hide the position of a lower frame. If the wall is too narrow for a straight view, take several overlapping photographs and note that the images are perspective references rather than exact measurements.
Add a few measurements
Record the group's total width and height, a useful reference to the furniture below, and the gaps that matter most. Measure the outside frames rather than the images inside them. A photo alone cannot reliably supply those dimensions later.
Assign each frame a simple identifier on a separate note and mark its position in a rough sketch. If two frames are nearly identical, photograph their backs and associated identifiers while they are safely supported. Do not put sticky labels on the artwork or delicate frame finishes.
Record hardware separately
The visible frame position does not reveal the location of a hook, ring, or cleat. Note the mounting system and relevant attachment measurements if you intend to rehang the same objects. Keep each set of removable parts in a labeled container.
On a new wall, choose attachments for the actual wall construction and finished weight. The old hole pattern is a record of the old installation, not proof that the same fasteners belong elsewhere. Use the photographs to recover the visual relationship, then establish a suitable installation independently.
After the arrangement is rebuilt, take one new photograph and date it. Keeping the old and new views together gives you a clear record of what changed without requiring a complicated inventory.