Build templates from outside measurements
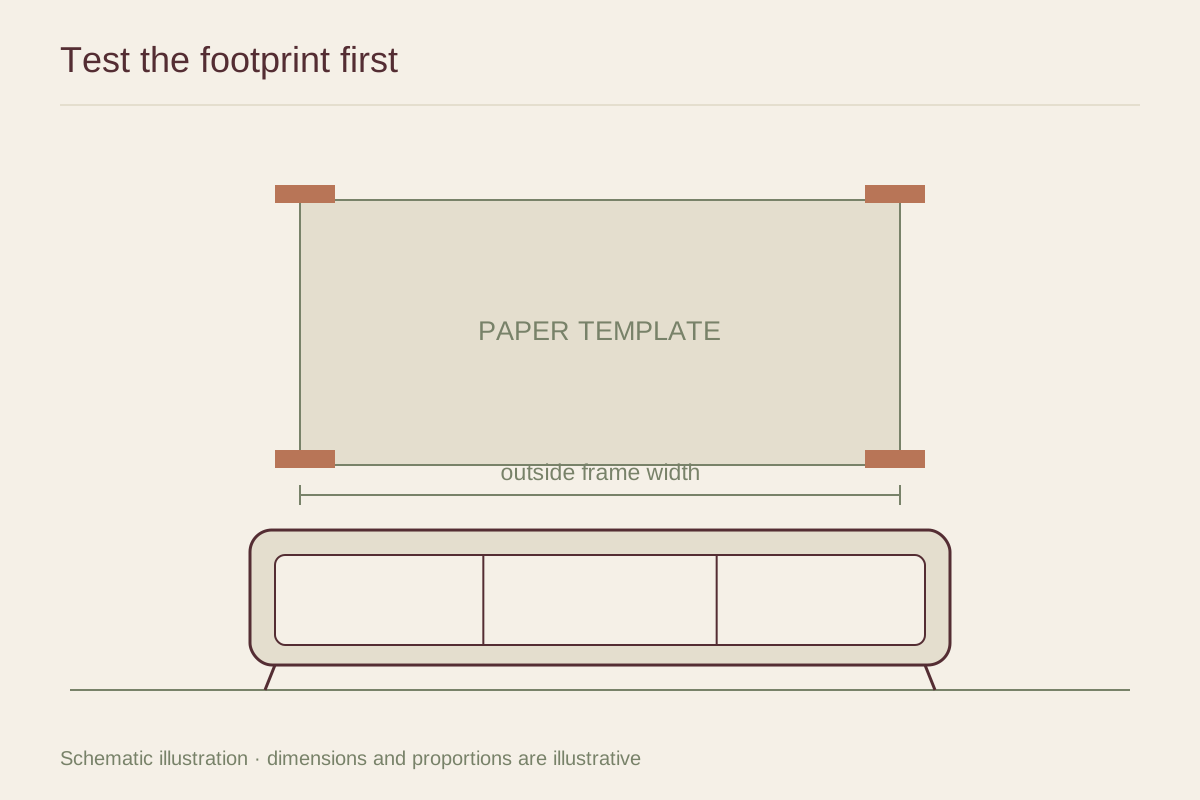
Measure the outside width and height of each frame. For a purchase you have not made, use the seller's finished dimensions and confirm whether they include the frame. Cut plain paper to those measurements, joining sheets if needed. Mark the top, the article or image name, and any orientation that must be preserved.
For a round frame, cut a circle rather than using its square bounding box. For a deep frame or a ledge arrangement, add a small side-view sketch. A flat template cannot show how far the object projects into a path, but noting the depth prevents that important measurement from being forgotten.
Show the image area too
Draw a second rectangle for the visible image or mat opening. This makes a small image inside a broad mat easier to assess. Two frames with equal outside sizes can have very different visual weight if one contains a dark image that fills the space and the other contains a tiny pale drawing.
You can attach a small printed copy of the artwork to the center of the template, but do not mistake it for a precise color sample. Its purpose is to identify the image and suggest its balance. A separate paper or print sample is better for decisions about color and surface.
Test the wall while the room is in use
Use a temporary attachment method appropriate to the wall finish and test it in an inconspicuous spot first. Fragile paint and wallpaper may be damaged even by products described as removable. If attachment is unsuitable, have someone hold the template or support a cardboard version without fixing it to the wall.
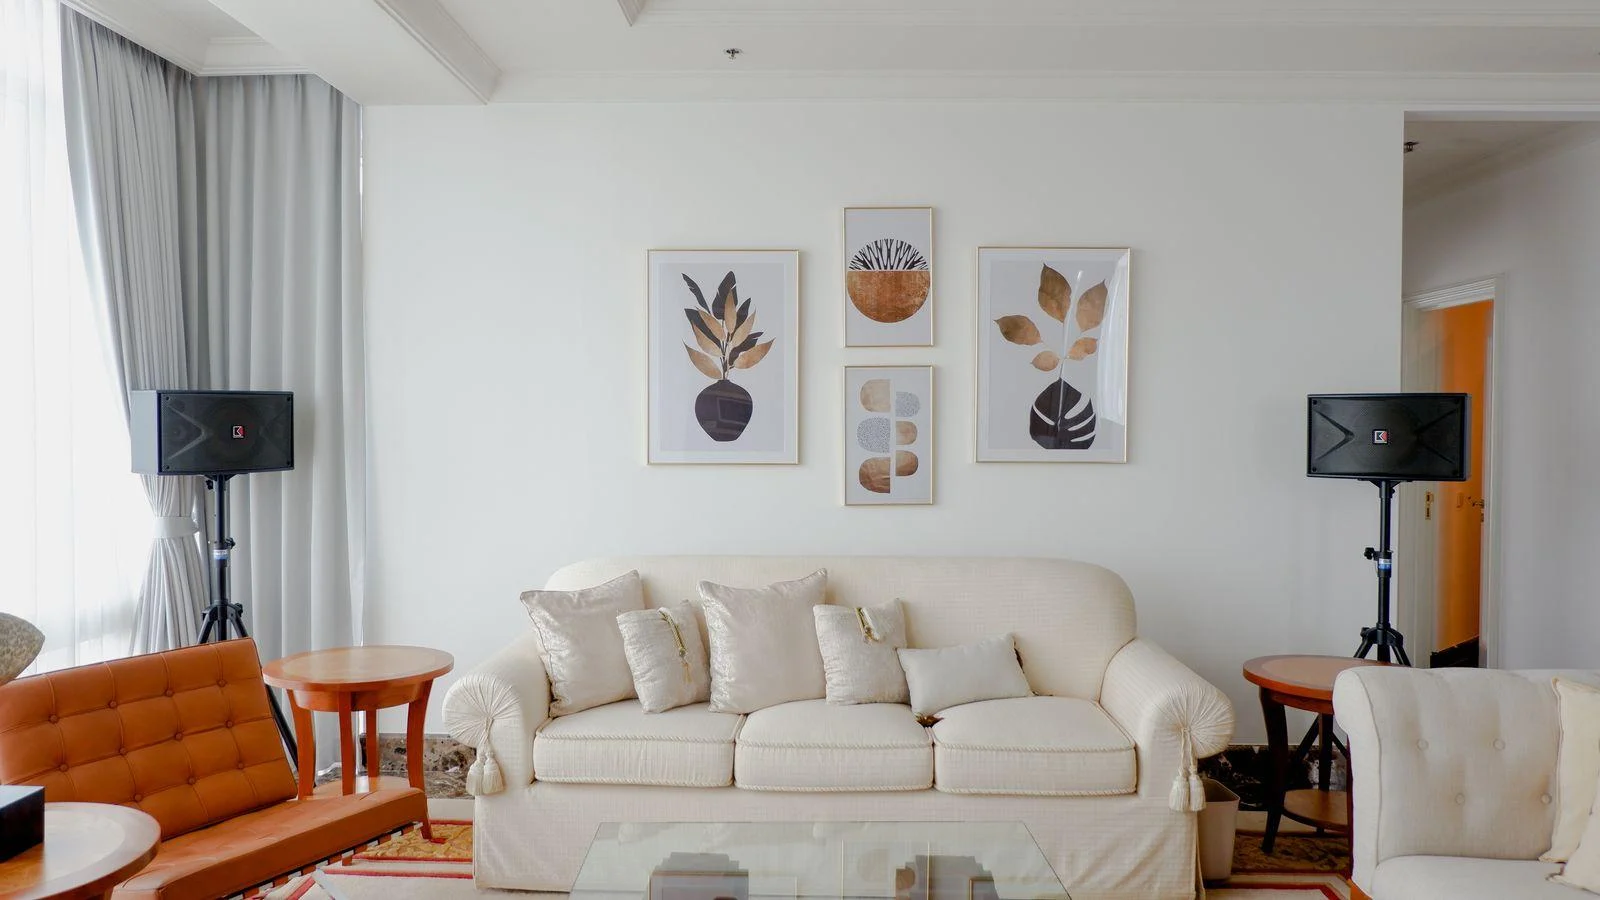
Arrange the templates with the furniture in its normal position. Open doors, extend a reclining chair, draw curtains, and turn on lamps. Look from the entrance and from the actual seats. A layout that looks centered in a straight-on photograph may sit behind a lampshade or feel cramped when the room is being used.
Try at least one smaller and one larger outline when you are unsure of scale. Change one dimension at a time so you can tell what improved. If you change size, height, and grouping simultaneously, it becomes harder to understand why the second arrangement works better.
Separate layout from fixing locations
Once you like the layout, record the frame edges and gaps with a tape measure. Do not drive a nail through the center of the paper and assume the picture will land there. The wall fixing position depends on the actual hardware, including the distance from the frame top to a D-ring or the lift in a wire under tension.
Label templates individually and transfer each frame's hardware measurements only after checking them. Identical-looking frames can have fittings in slightly different places. Use a level for the final arrangement and choose fixings suitable for the complete frame weight and the wall construction, following the hardware maker's instructions.
Keep a record worth using again
Photograph the final templates straight on and note their measurements in a simple sketch. Keep the paper pieces until installation is complete. If a shelf, sofa, or frame changes later, the record gives you a useful starting point without requiring you to rebuild the entire plan from memory.
The template stage is also a good moment to remove a piece. If the group only works after every gap is reduced to a sliver, the wall may be asking for fewer objects. Paper makes that decision inexpensive, reversible, and much easier to see.