Make an inventory of the real objects
Measure the outside width, height, and depth of each finished frame. Note the orientation and complete weight. If some works are not framed yet, use realistic estimates and clearly mark them as provisional. A mat and substantial frame can change both the scale and weight of a small print.
Photograph the frames straight on or make simple labeled rectangles. Record which pictures contain the strongest dark areas, brightest colors, or most detailed subjects. Those visual qualities help explain why two frames of equal dimensions may not feel equally prominent.
Define the wall's useful area
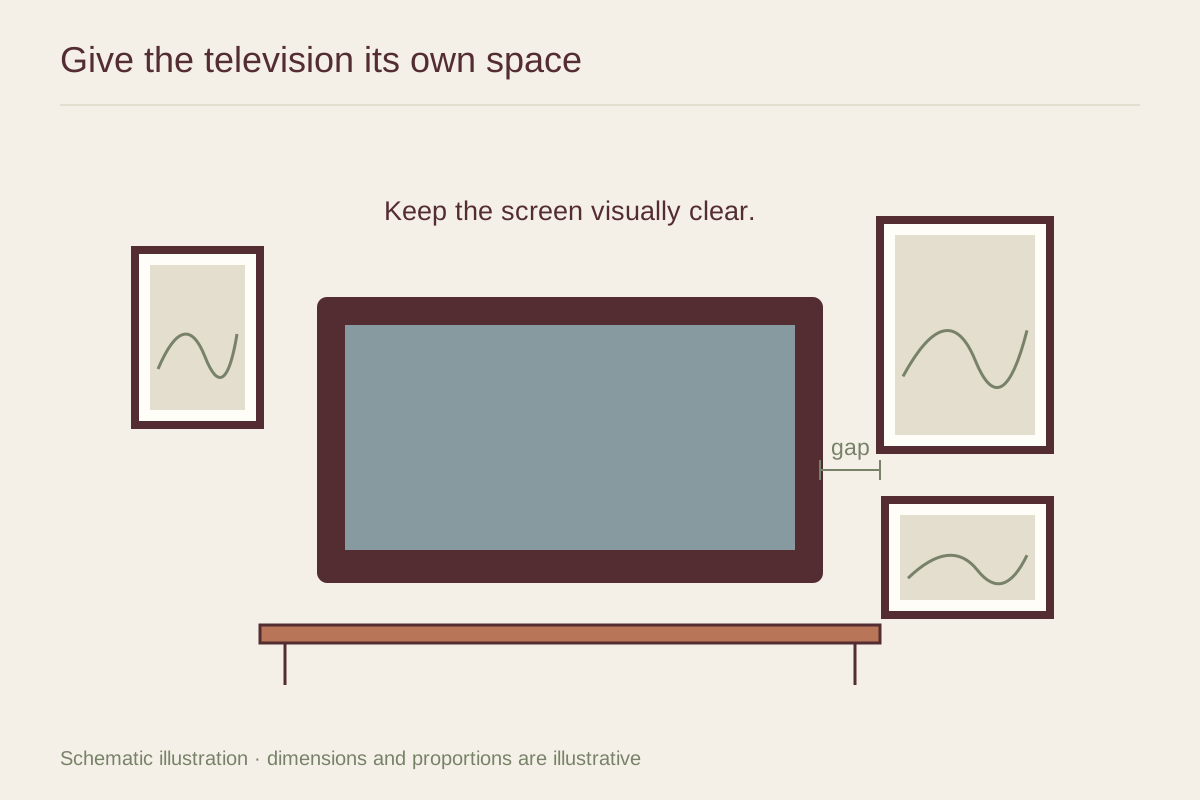
Sketch the wall with furniture, switches, outlets, vents, lights, door swings, and curtain space. Measure the area people actually see above the furniture rather than treating the entire wall as available. Leave access to controls and maintenance points.
Choose the main view. A grouping above a sofa should usually make sense from the room and from the seats opposite it. A hallway grouping may be seen obliquely as people approach. The layout can respond to that view instead of being optimized only for a straight-on photograph.
Build a structure before filling gaps
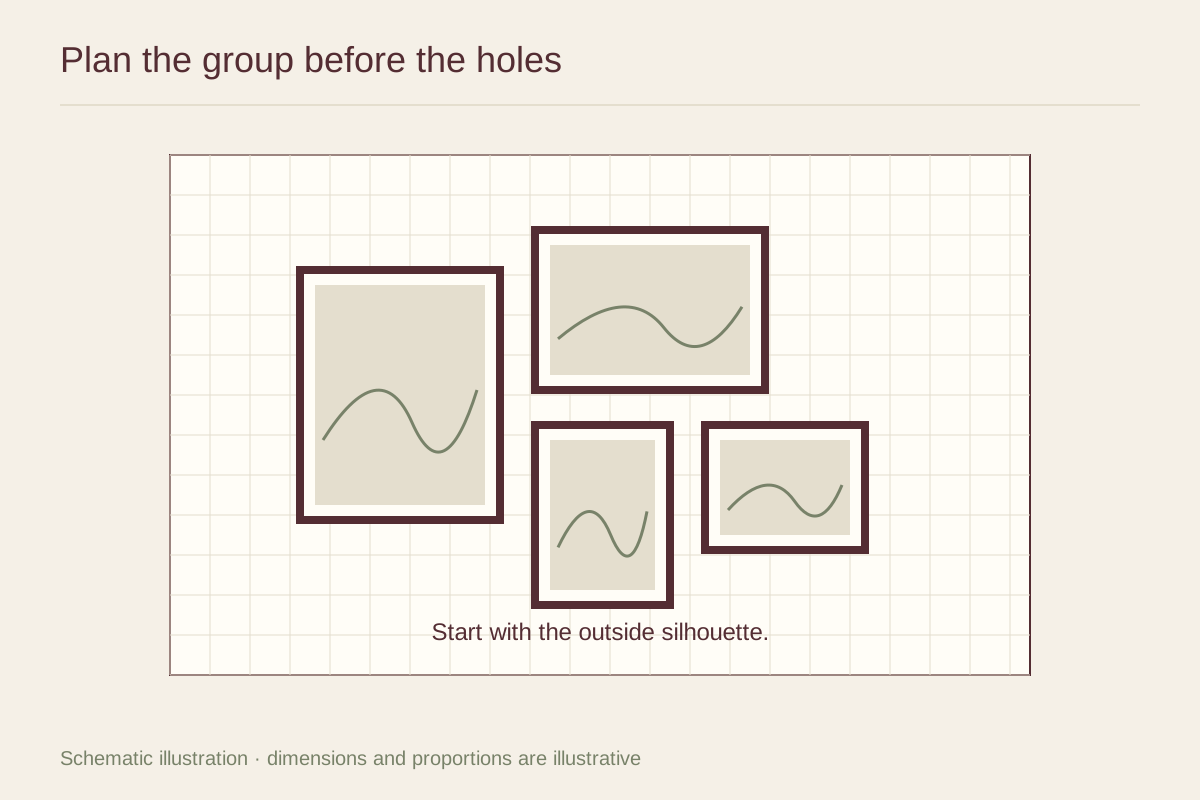
Choose a starting piece with enough presence to anchor the group. It need not be the largest, but it should give the surrounding works a point of reference. Place it on a scaled paper sketch, then add one or two pictures that establish the group's width and height.
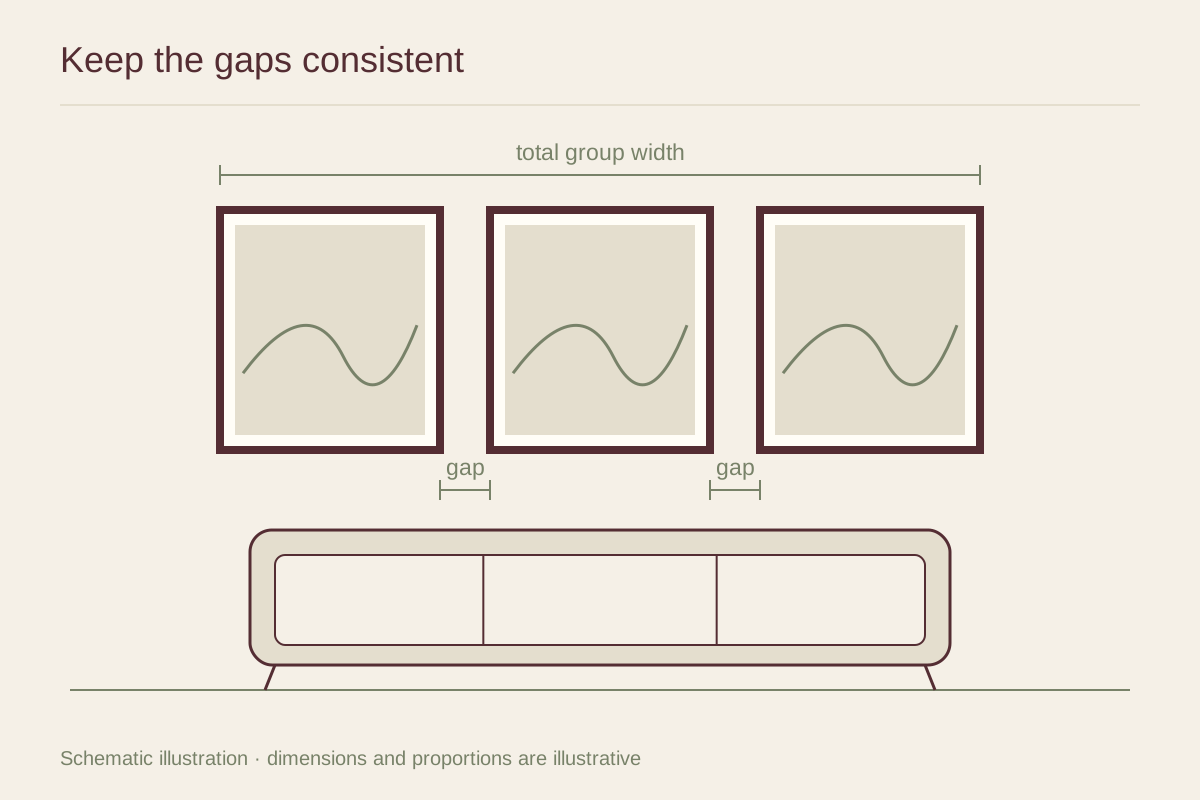
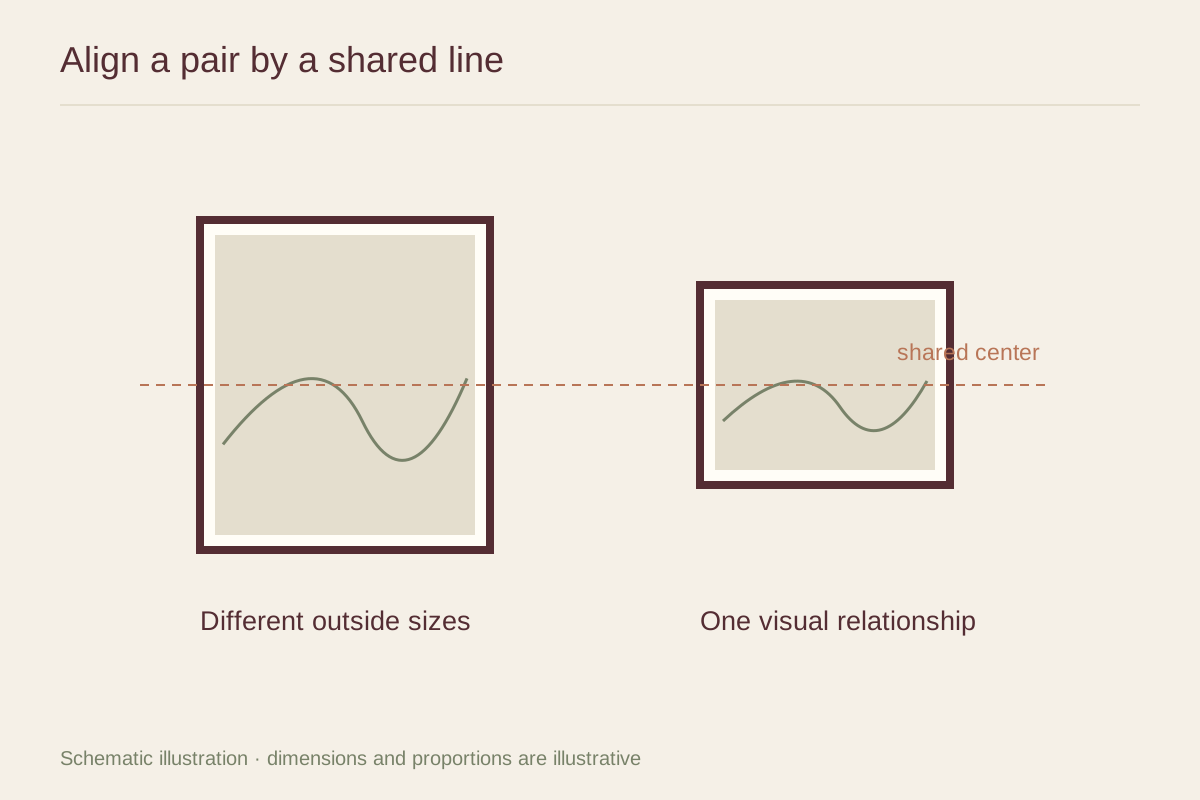
Decide whether you want a grid, a shared top or center line, or a looser cluster. An informal group still benefits from some repeated spacing or a clear outer shape. Avoid treating every empty pocket as a demand for another object; open space helps the images remain distinct.
Distribute visual weight rather than matching frame sizes mechanically. A small dark picture can balance a larger pale one. If several strong colors gather in one corner, try moving one to another part of the group and compare the result.
Test at full size
Cut templates to each frame's outer dimensions and label them. Use a temporary attachment method suited to the wall finish, testing an inconspicuous area first. For fragile surfaces, hold or support templates instead of attaching them. Transfer the scaled layout to the wall, then step away from the tape measure.
Sit down, enter from the doorway, and walk past the group. Turn on the lamps, draw the curtains, and place the usual objects on nearby furniture. A layout that only works with the room stripped bare may need more space or fewer frames.
Leave the templates in place long enough to notice awkward alignments. Make one change at a time. Photograph each useful version so you can compare without relying on memory, but make the final decision in the room, where depth and viewing angles are real.
Translate the layout into a safe installation
Once the frame positions are settled, measure the hanging hardware on each actual frame. The wall fixing is rarely located at the geometric center of the paper template. Wire lift, D-ring positions, and cleat offsets all affect where the frame will land.
Select hardware for the wall construction and complete object weight, following the manufacturer's instructions. Check for concealed services before drilling and obtain suitable help for uncertain walls or difficult access. Keep a labeled plan of frame edges and fixing locations; it will make future changes easier without turning the first installation into guesswork.