Use true-shape templates
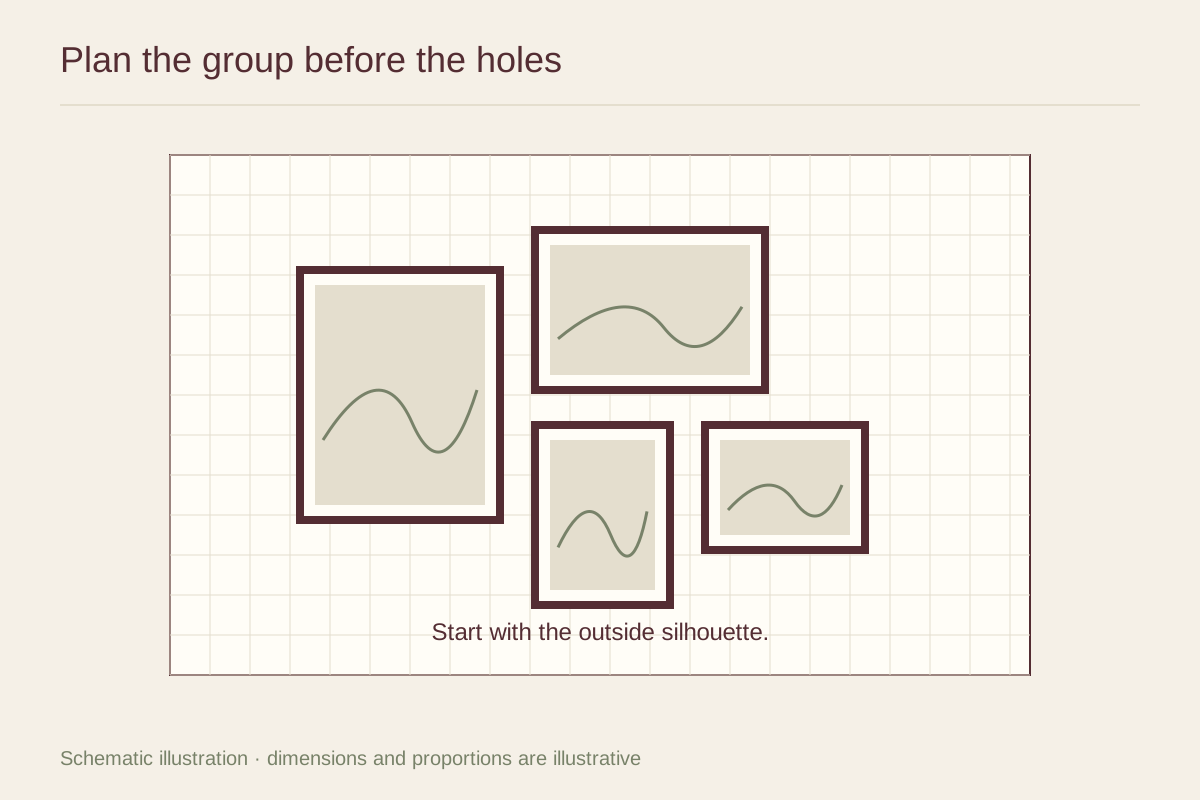
Cut a circle for the round frame and rectangles for the others, using their outside dimensions. A square placeholder around the circle exaggerates its occupied area and can lead to gaps that feel too wide once the real frame is installed.
Try the round work near an edge of the group and then nearer the center. At the edge it can soften the outer outline; in the center it can become a clear focal point. Its strongest position depends on its image and frame weight, not only its shape.
Repeat one other quality
A shared frame finish, similar paper tone, or related subject can connect the different shapes. If the round frame is ornate and the rectangles are very plain, a color link may be enough. You do not need to make every other frame equally decorative.
Compare the image density. A small round frame filled with a dark portrait may command more attention than a larger rectangle with a pale drawing. Place it where that emphasis is useful rather than assuming the largest outside dimensions must anchor the group.
Judge gaps by eye and measurement
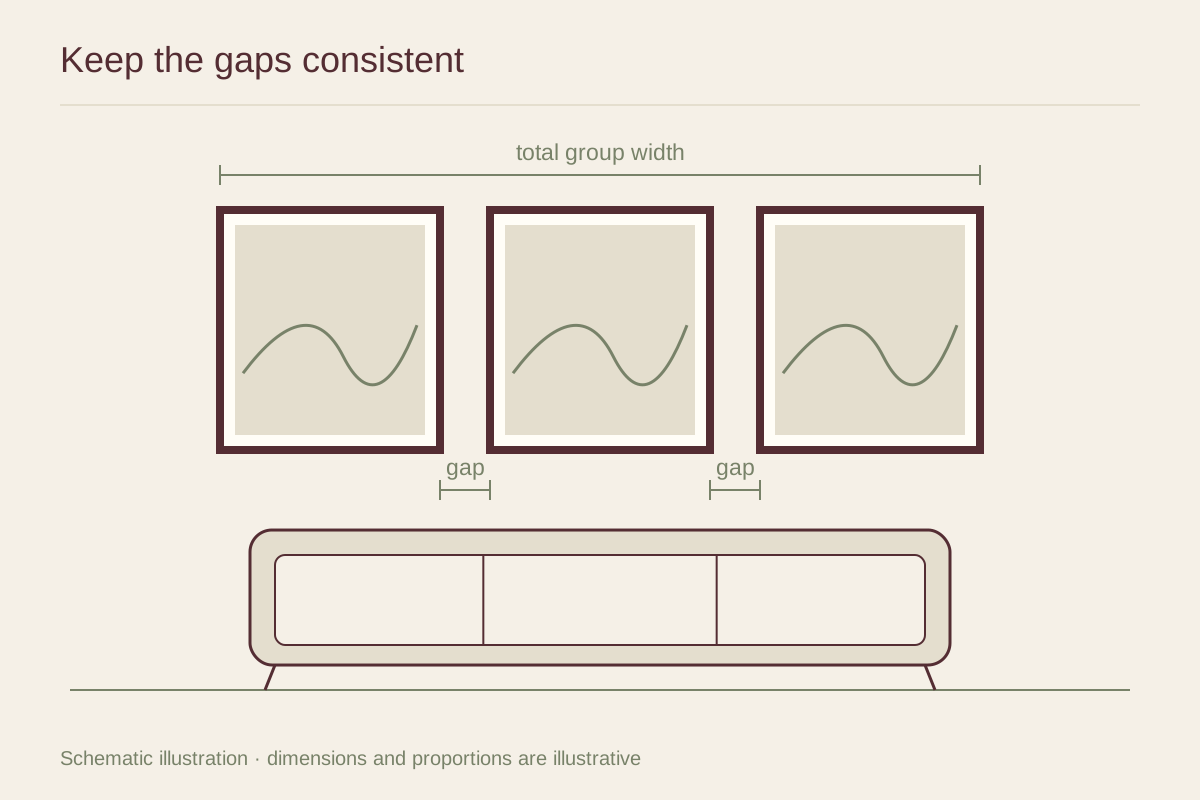
Begin with measured spacing, then inspect the shapes from the room's main view. The curved edge creates widening spaces above and below its nearest point. A gap that is numerically equal to the rectangular gaps may feel more open, so a modest adjustment can be appropriate.
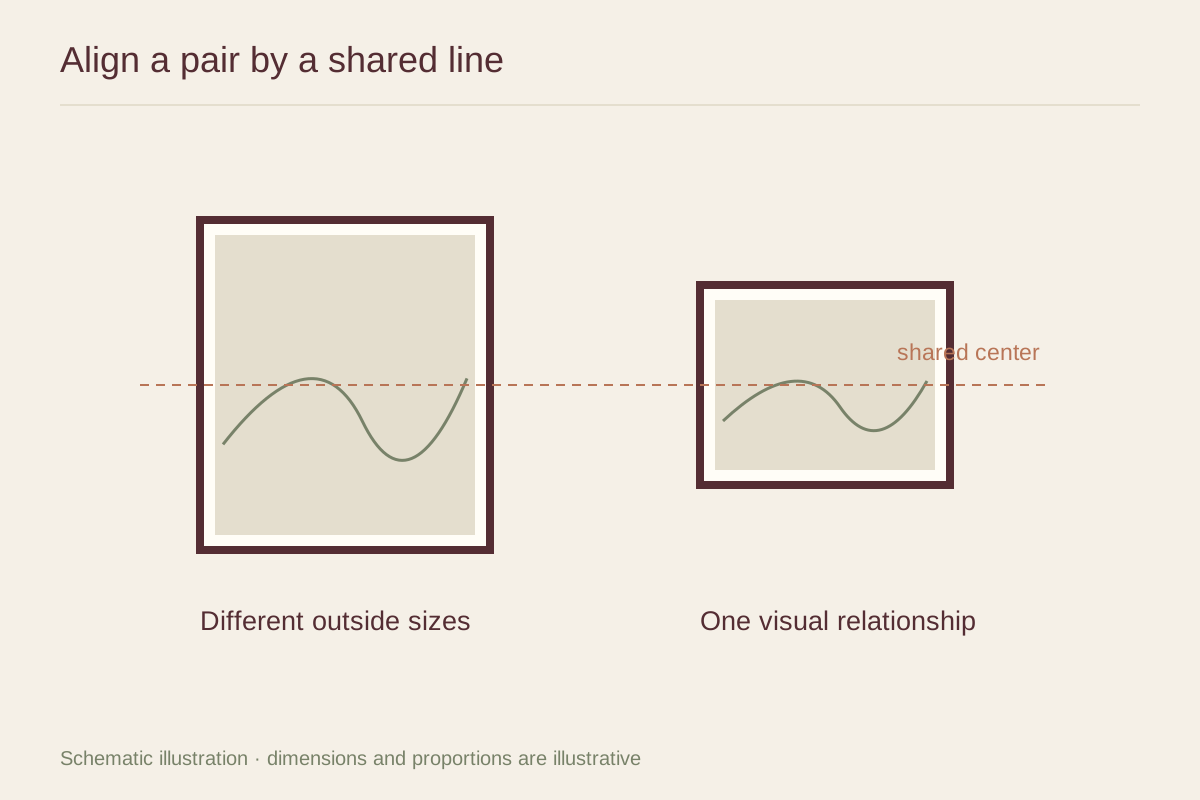
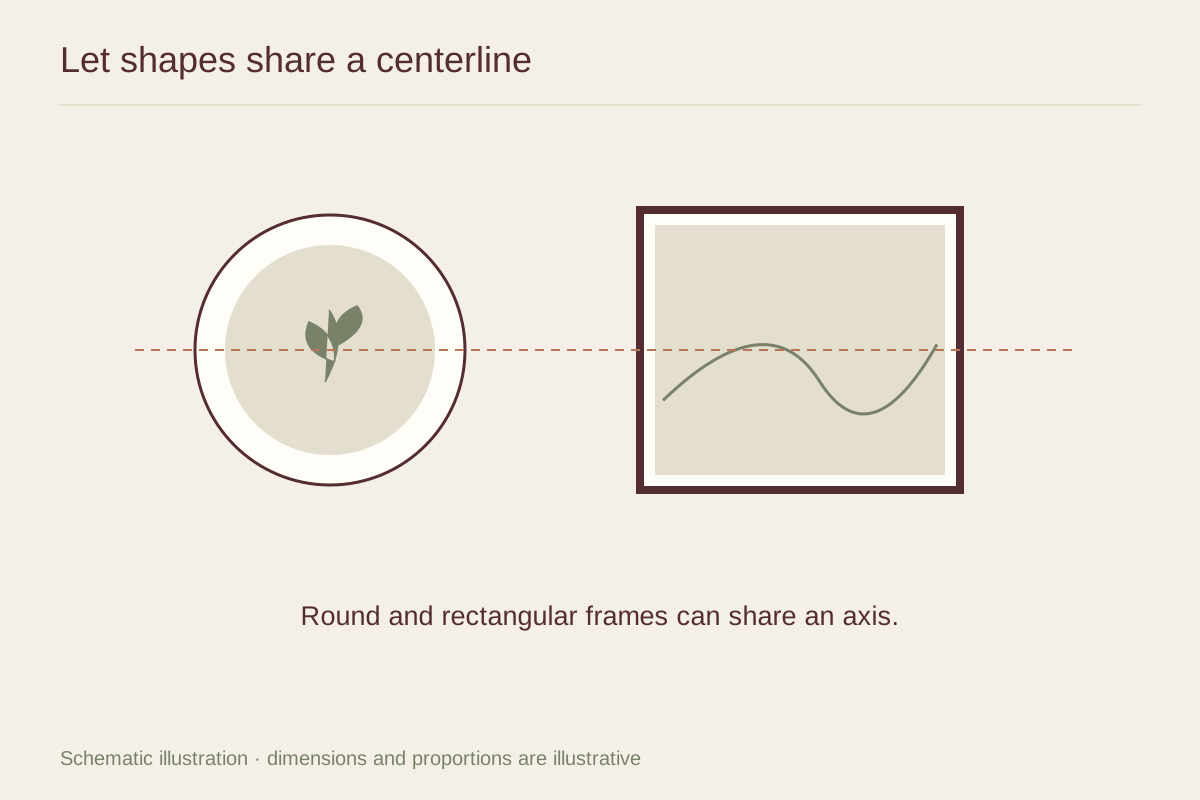
Keep the overall group shape legible. A few shared center lines or repeated intervals can prevent the mixed forms from looking scattered. If the circle feels like an afterthought, remove one nearby rectangle and give it a clearer role. The goal is to let the curve change the rhythm without requiring the entire wall to revolve around it.