Know the ledge before arranging it
Read the manufacturer's limits for the shelf, brackets, fixings, and wall type. Add the weight of all frames and objects, not just the largest one. A shelf's stated capacity may depend on specific installation conditions, so do not assume the same number applies to every wall.
Check the depth and front lip against the frames. A narrow ledge may not safely support a deep frame or an object with an uneven base. Use any recommended restraints and keep the display away from places where it is likely to be pulled, bumped, or climbed.
Build from a few clear heights
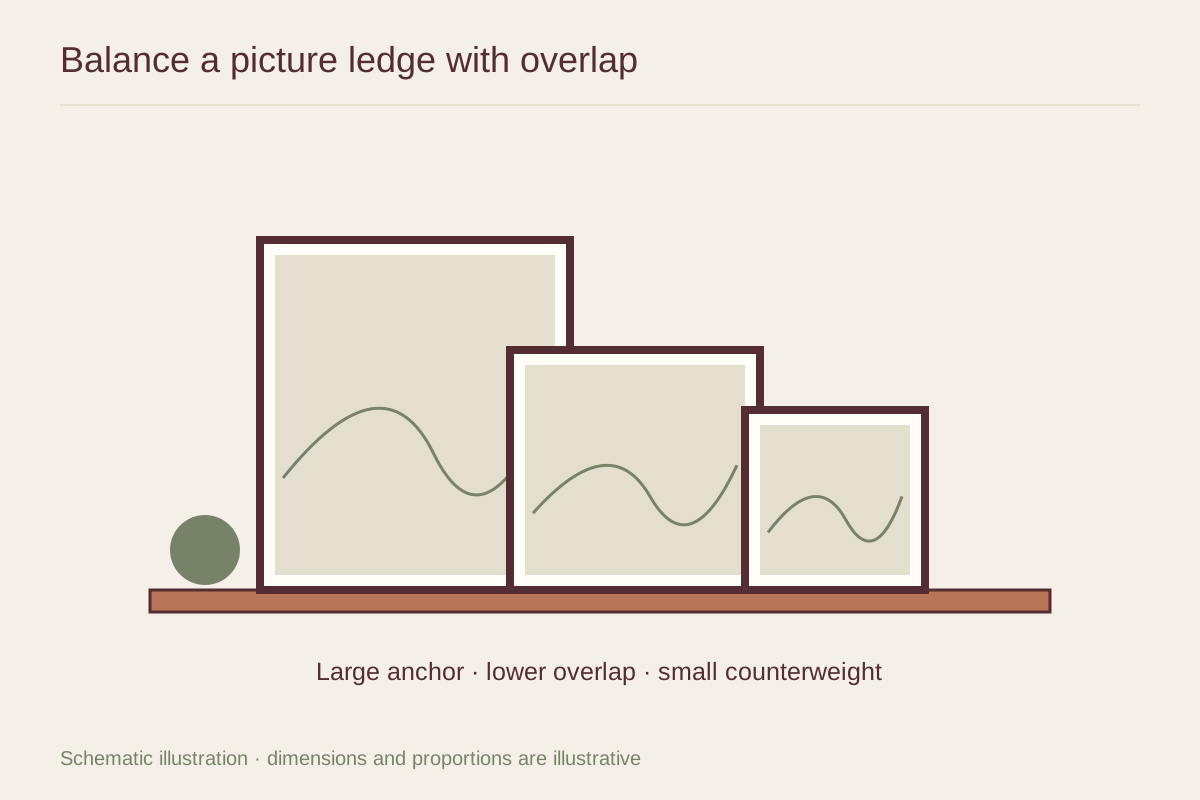
Start with the tallest or most visually prominent frame, then add a smaller one and step back. Three distinct heights can create a readable rhythm, while many nearly equal heights may look accidental. The tallest frame does not have to sit in the middle.
Overlap only where it helps the images. Covering a blank border can create depth; covering a face, signature, or important detail can make the artwork frustrating to view. If every picture needs to overlap heavily to fit, remove one rather than forcing the arrangement.
Balance darkness and space
A small dark image can offset a taller pale one. Consider the color and density of the pictures as well as their dimensions. A simple frame may be a useful pause between ornate profiles, and a clear length of ledge can keep the group from feeling like storage.
If you include an object, give it a reason to be there and a stable base. A single low bowl or small sculpture may complement the frames, but the ledge does not need accessories to look complete. Keep plants and liquids away from paper art where a spill could reach it.
Make changes without losing stability
Photograph an arrangement you like before trying another. Recheck total load and support whenever frames change, especially if a new piece has glass instead of acrylic or a deeper profile. A display that is easy to rearrange still needs a fresh safety check when its physical contents change.