Read the wall in sections
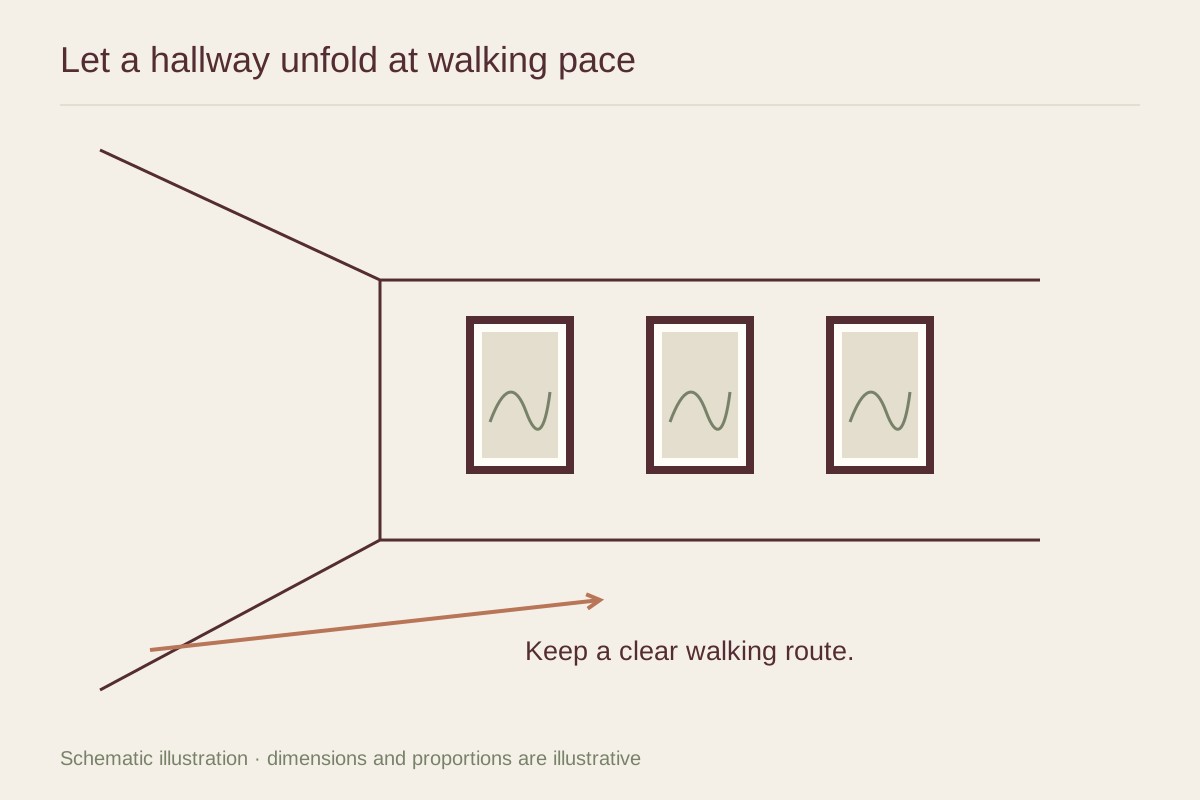
Mark doors, switches, lights, and any narrow points. Treat each clear stretch as a possible group rather than measuring one continuous run. A break at a doorway can provide a natural pause, while a long blank stretch may benefit from two smaller groups instead of one crowded row.
Look from both ends of the hallway. Pictures are often seen at an angle here, and deep frame profiles can obscure the images or project into the route. Choose dimensions that suit the passage as well as the wall area.
Give the sequence a rhythm
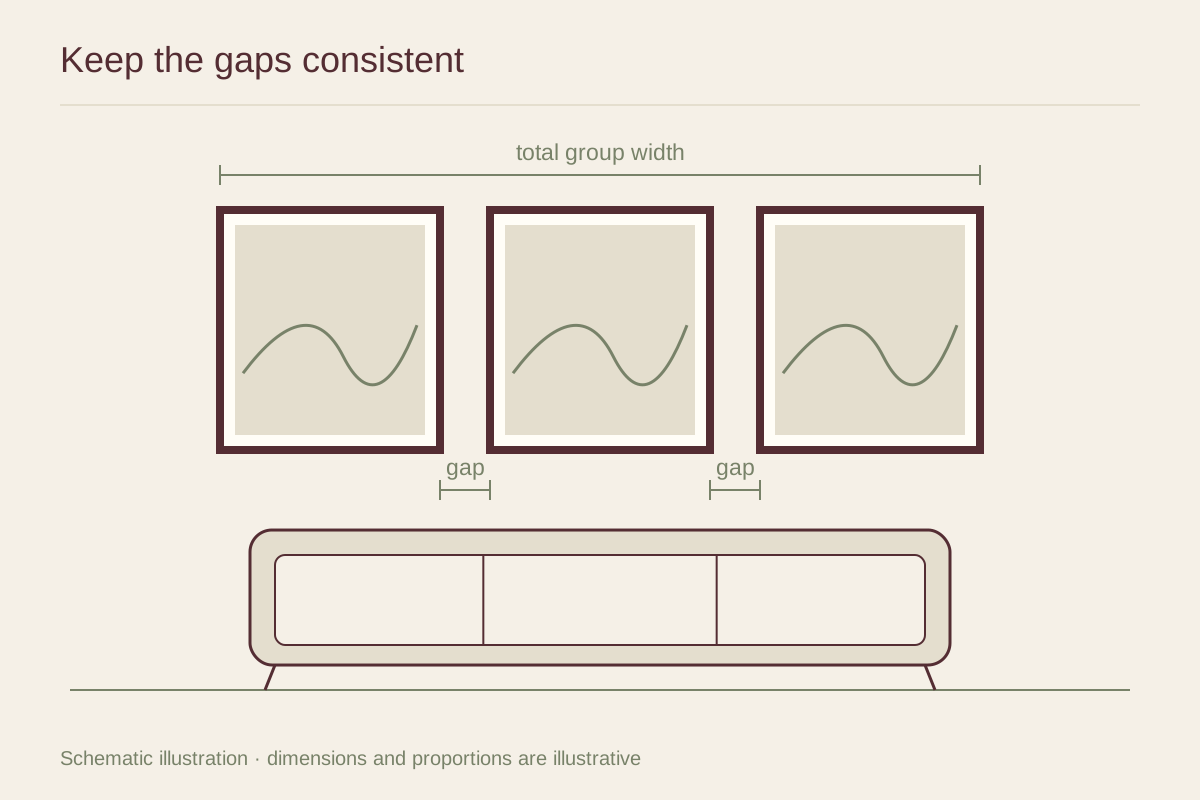
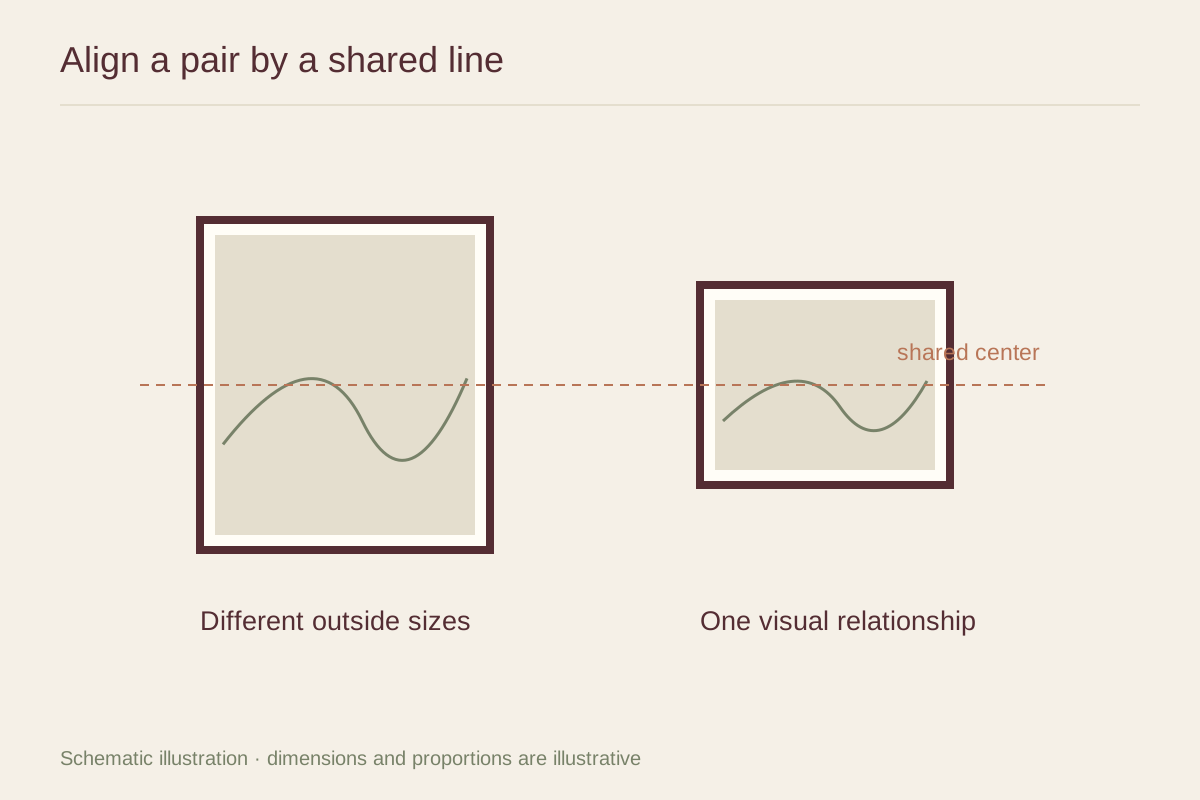
Matching frames can create a steady rhythm, especially for a series of related photographs or prints. Mixed frames can work too if you repeat a gap, a center line, or a limited set of finishes. The repeated element helps people understand the display while moving.
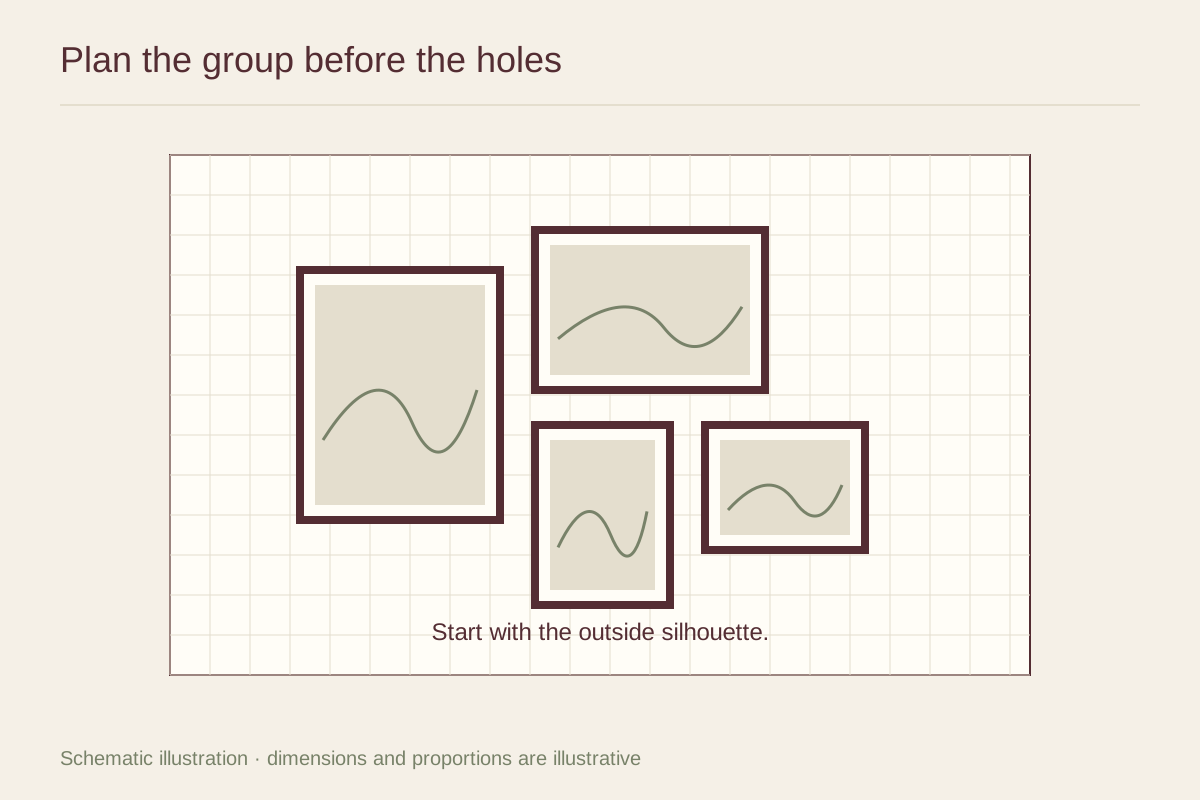
Varying image intensity can prevent the sequence from becoming monotonous. A pale drawing between two dark photographs creates a pause. Arrange the actual images on a protected floor or in a simple digital sketch before transferring only their rectangles to the wall.
Choose details for close looking
A hallway may bring viewers close enough to appreciate linework, small scenes, and paper texture. Avoid assuming every picture must be bold enough to read from the far end. A larger piece at the end wall can serve as a destination while smaller works along the route offer separate encounters.
Check reflected light from doors and fixtures. If a ceiling light creates a bright patch across every glazed image, adjust the position or discuss glazing options with a framer. Keep switches and access panels clear, and make sure the display does not narrow an already tight walking route.
Stop before the wall feels full
After hanging the first group, live with it before extending the sequence. The remaining wall may provide useful rest rather than look unfinished. Photograph the display from both directions so future additions can preserve its rhythm without requiring every new picture to fit into a shrinking gap.