Separate the sheet from the image
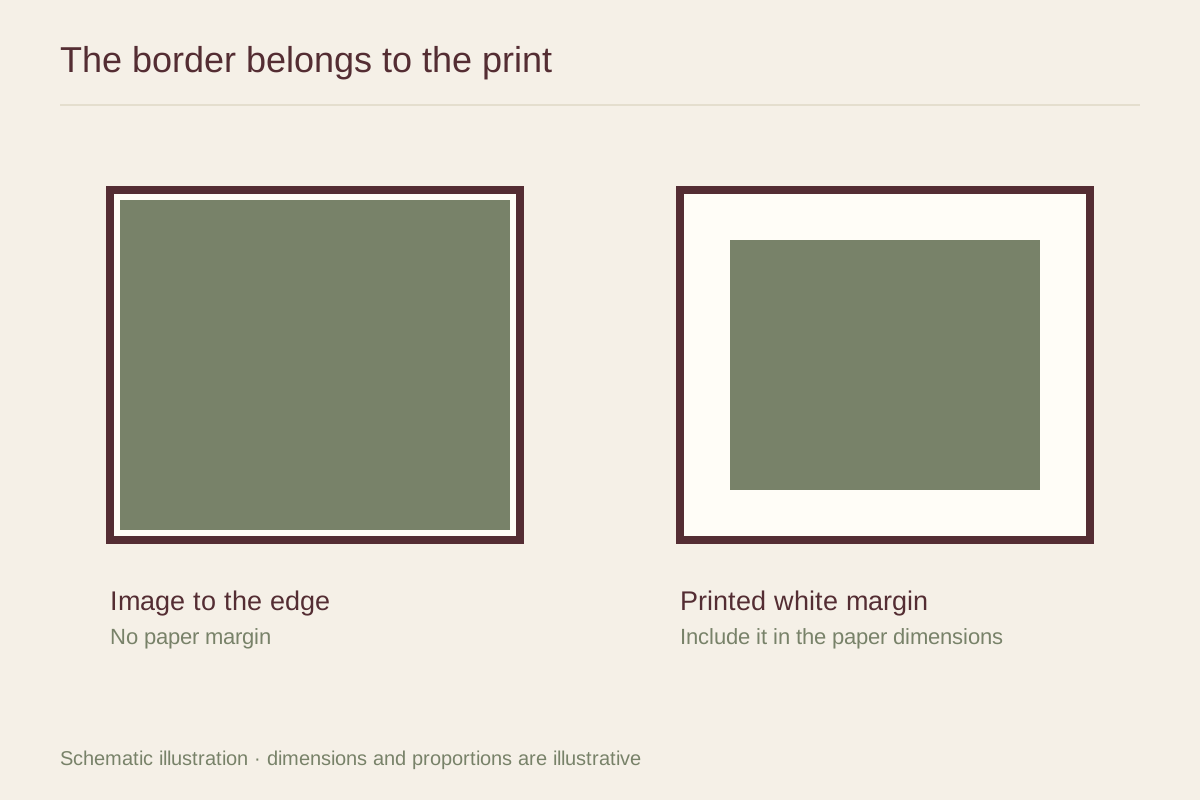
A listing might describe an 18-by-24-inch sheet that includes a border, or an 18-by-24-inch image with extra paper around it. Those are different framing jobs. Ask for both dimensions and confirm whether the image is centered, has a larger bottom margin, or includes a signature outside the picture area.
Do not assume a frame opening will show the entire sheet. Many frames overlap its edges slightly. If a signature or narrow white border must remain visible, discuss the opening with the framer before choosing a standard size.
Decide what the white space adds
A border can give a busy image a pause before the frame. It can also make a print feel more like a sheet of artwork than an edge-to-edge poster. For a spare drawing already surrounded by plenty of blank paper, adding another broad border may be unnecessary.
Compare a full-sheet preview with a cropped preview at the same outer size. The image itself becomes smaller when the border takes up part of that size. If fine detail matters, make sure the bordered version still gives the picture enough room to be read.
Plan the framing method
A printed white border does not perform all the functions of a mat. In particular, it does not by itself hold the artwork away from glazing. Ask the framer how the complete package will support the sheet and provide appropriate separation for its medium.
Choose the border based on the image and the frame together. A pale paper edge beside a dark frame can look crisp; beside a warm wall it may reveal a strong difference in white tones. A small sample is more reliable than a screen when that distinction is important to the final room.