Choose the grid's orientation
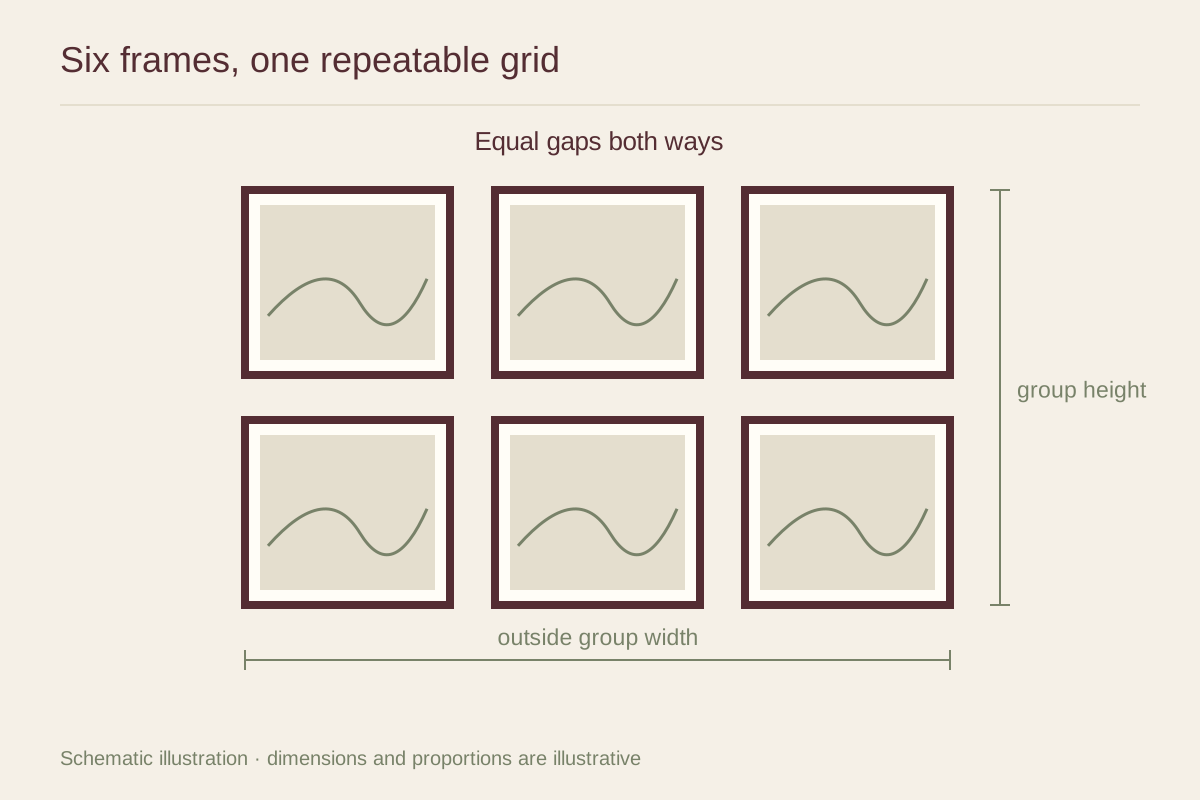
Three columns and two rows create a broad rectangle that may suit a sofa or sideboard. Two columns and three rows create a taller group that may suit a narrower wall. Compare both arrangements with the furniture and the available viewing distance before deciding.
Calculate the total outside dimensions. For three columns, add three frame widths and two horizontal gaps. For two rows, add two frame heights and one vertical gap. If the frames are 12 inches wide and 16 inches high with 2-inch gaps, that particular three-by-two group measures 40 by 34 inches. Use your own actual measurements.
Arrange the images within the order
Matching frames provide structure, but the images still determine visual balance. Lay them out and notice where the darkest or brightest works gather. Spread strong visual weight deliberately, or create a clear sequence if the pictures tell a story.
Check whether all mat openings and borders match. A print with a larger bottom margin can make its image appear lower even when the frames are perfectly level. Decide whether that variation is part of the work's character or something to address in the framing before installation.
Make a full-size wall plan
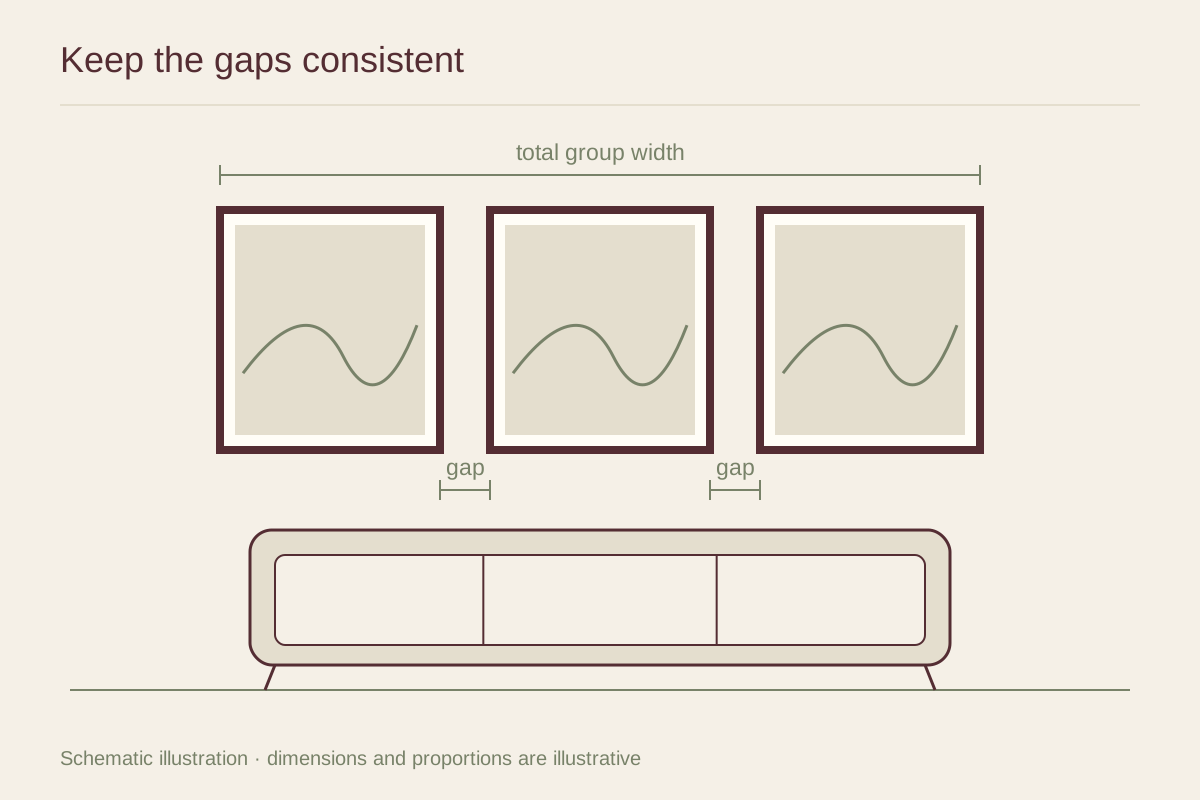
Use six paper templates with their exact outside dimensions. Mark their identities and top edges. Position the complete group on the wall, then inspect it from the doorway and the main seats. Keep the horizontal and vertical gaps consistent unless you have a clear reason for different spacing in each direction.
Look at the outer rectangle as well as the internal gaps. A grid close to the ceiling or a neighboring door can feel compressed even when its internal spacing is correct. Moving the whole group or choosing smaller frames may work better than tightening the gaps.
If the wall is above furniture, judge the grid as one object. Its center relates to the furniture grouping, not necessarily the center of each individual row. Keep room for lamps and normal furniture use, and check that the lowest frames will not be knocked.
Measure every hanging point
Number the frames and record the distance from each top edge to its hanging points. If wire is used, measure its lift under appropriate tension rather than its loose position on the back. Small differences in factory-fitted hardware can create visible errors across a grid.
Transfer those measurements from the planned frame positions to the wall. Use a level and a reliable measuring reference. Do not accumulate small errors by measuring every new fixing only from the last one; return to the main reference lines as you progress.
Select hardware suitable for the wall construction and each complete frame weight, and follow the manufacturer's installation instructions. Check for concealed services before drilling. A precise layout does not compensate for an unsuitable fixing.
Verify the finished edges
After hanging, measure the actual gaps and check the rows and columns with a level. Stand back before making tiny corrections; frame profiles and wall irregularities can affect the apparent lines. Use suitable frame bumpers or stabilizers only as recommended, not as substitutes for proper hanging support.
Keep the numbered plan and hardware measurements. If you later replace one print, return the frame to its original position rather than mixing frames whose fittings differ. That small record can preserve the grid's clean order through future changes.