Survey the entire route
Walk up and down the stairs with the wall empty if possible. Note where you naturally look, where the landing provides a pause, and where the wall is seen only at an angle. A large picture may be most effective on a landing, while smaller works can reward closer views along the flight.
Measure the wall, door openings, ceiling slope, handrail, and any lights or switches. Keep the handrail fully usable and the walking route clear. Frames with substantial depth can intrude into a narrow stairwell even when their flat outlines appear to fit.
Choose a structure that follows the architecture
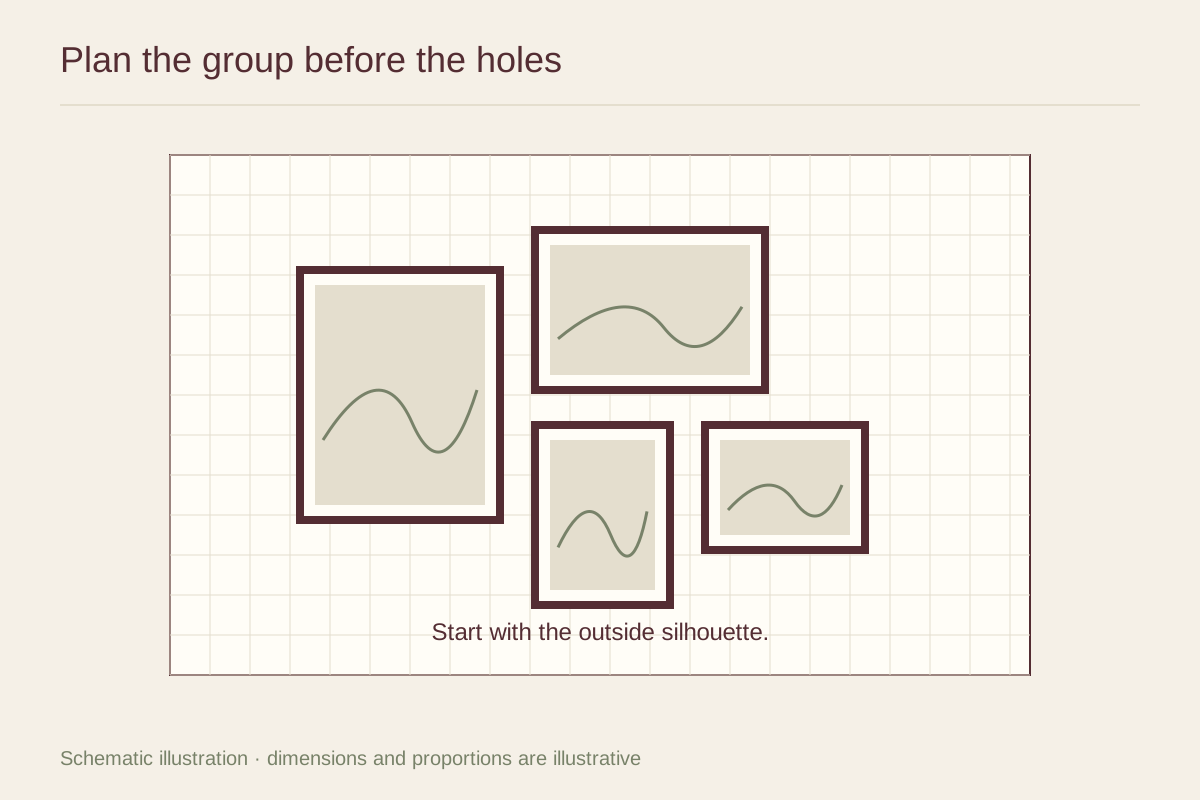
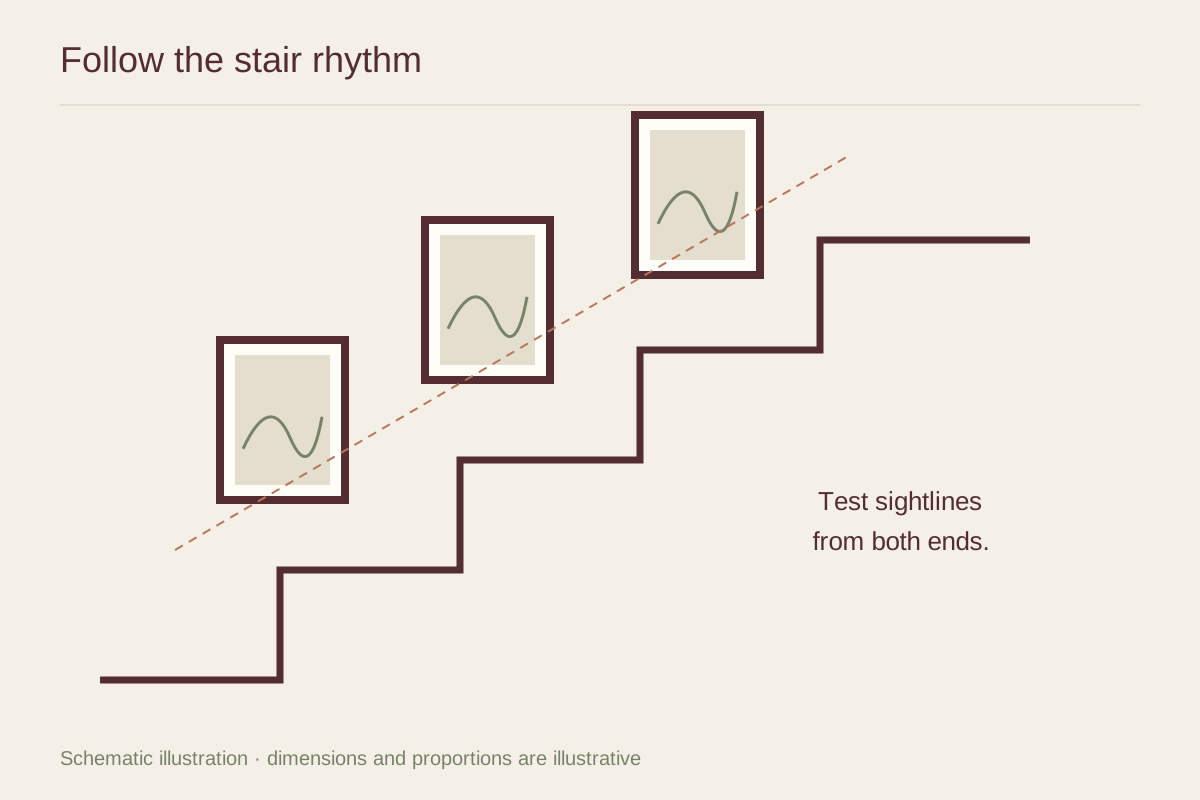
One option is a rising sequence that loosely follows the stair pitch. Another is a compact group anchored around a landing or a large central work. You do not have to make every frame edge run parallel to the stairs. Choose the structure that suits the actual wall and collection.
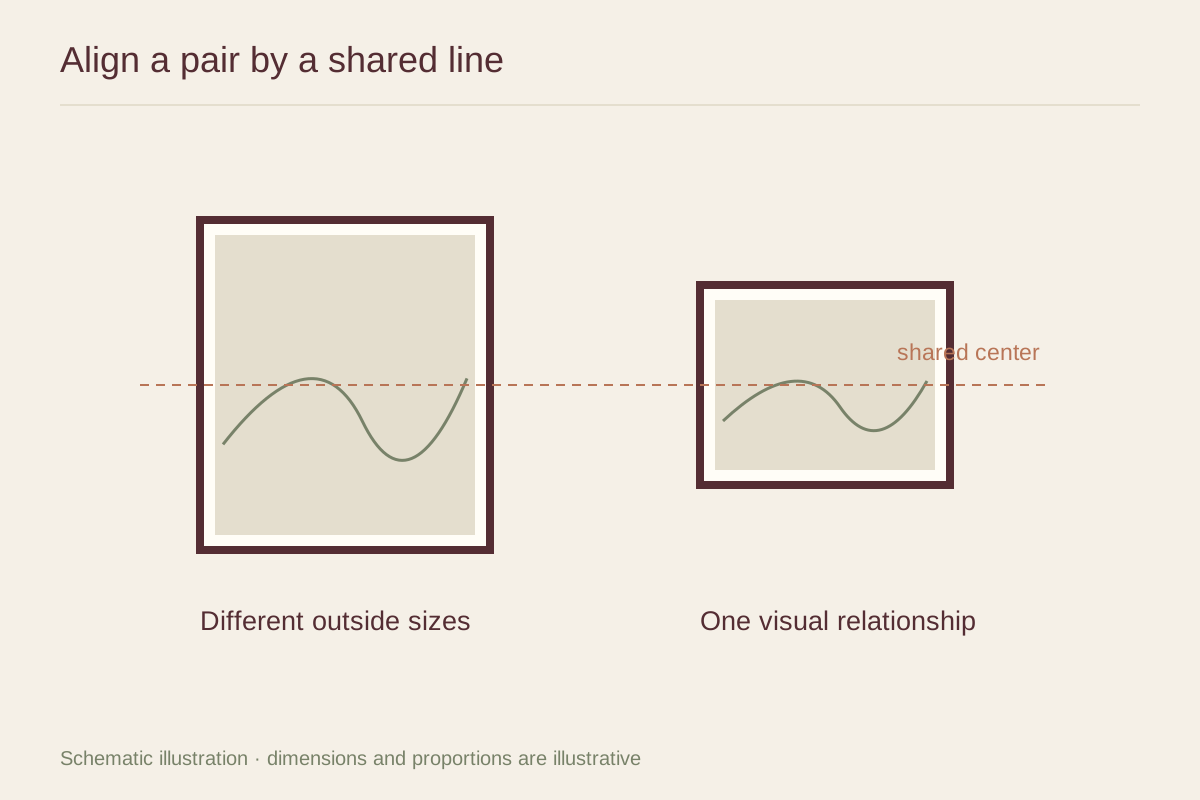
If you use a rising line, decide whether it passes through frame centers, lower edges, or a series of visual centers. Mixed sizes will look different under each approach. Sketch the whole flight before judging one frame in isolation.
Avoid filling every available area above the handrail. A pause between groups can make the route easier to read and prevent small works from disappearing in a dense cluster. The highest wall area may be better left empty if it is difficult to reach or see.
Test templates from both directions
Make templates from the frames' outside dimensions and label their images. Use a surface-appropriate temporary method where it is safe to reach. Do not stretch across a stair void to attach a piece of paper. A scaled drawing or professional layout visit is preferable when the location cannot be accessed safely.
View the proposed arrangement from the bottom, middle, top, and landing. Ask whether frames seem to crowd a person's head or shoulder as they pass. Open nearby doors and carry a normal laundry basket through the route to understand everyday clearance without holding real artwork.
Consider the direction of the pictures themselves. A figure or path can lead the eye along the staircase, but that is an optional compositional choice. Do not force a valued image into the wrong position simply to make every subject point uphill.
Plan the fixing and access together
Check the complete framed weights and the wall construction. Choose hardware that is specified for those conditions and measure each frame's actual hanging points. A staircase is not a good place to rely on guessed wire offsets or an improvised increase in adhesive capacity.
Safe access may require equipment designed for stairs or a professional installer. Do not balance a standard ladder on makeshift blocks, lean out from a landing, or use a chair on a step. If the installation cannot be reached securely with appropriate equipment, change the layout or arrange qualified help.
Make future care possible
A display needs occasional inspection and cleaning. Choose locations where frames and fittings can be checked without recreating an elaborate access problem every time. Avoid placing fragile or frequently rotated works at the most difficult point on the wall.
Keep a photograph and labeled measurements of the final layout. Note the hardware used and retain its instructions. If you later replace a picture, compare weight, depth, and hanger positions as well as size. A new frame that looks similar may need a different fixing arrangement, and the established gallery wall should not hide that change.