Make a measurement record
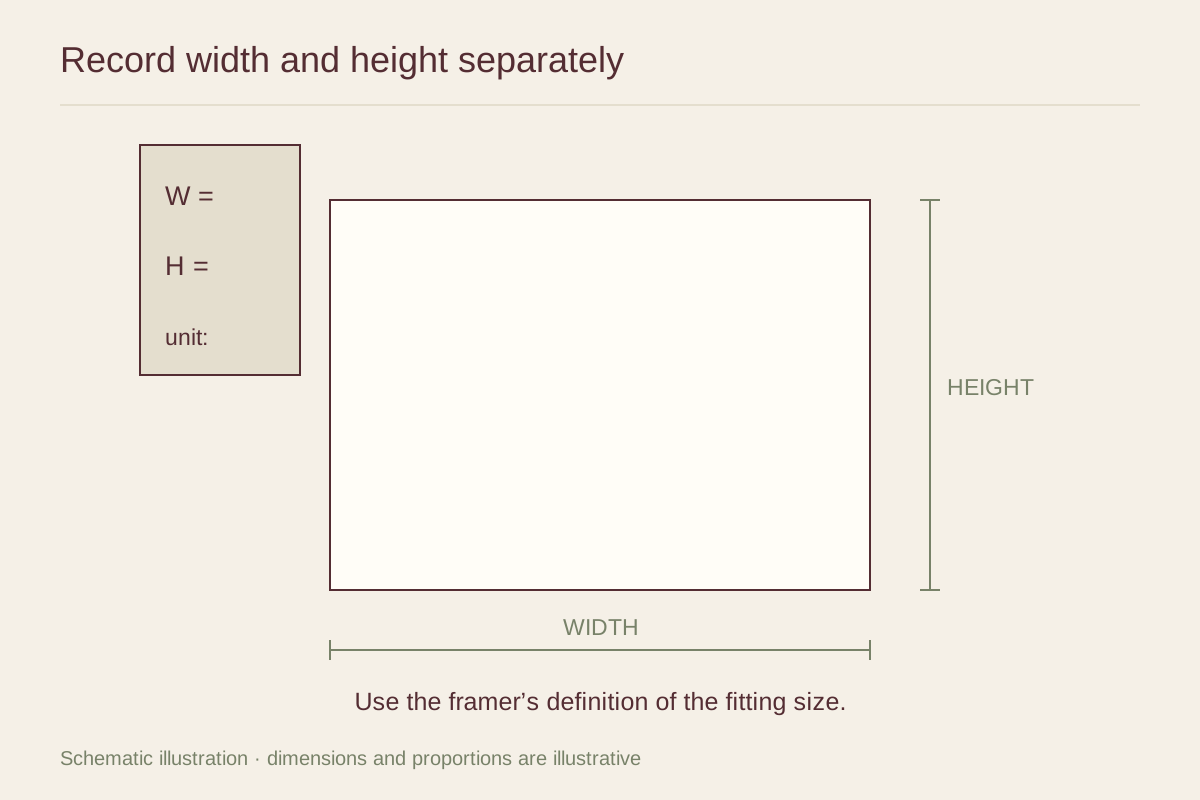
Record the full sheet width and height, then the image width and height. Note any margins, signature, caption, or irregular edge that must remain visible. Use width by height consistently and specify portrait or landscape. A photograph of the print beside a separate labeled diagram can explain the relationship without writing on the artwork.
Measure a stable print on a clean support using a ruler that will not slide across the image. For a fragile, curled, or valuable work, let the framer measure it. Do not flatten an object by force to obtain a tidy number. If the edges are irregular, record the maximum extent and explain that the sheet is not perfectly rectangular.
Decide what the window reveals
A mat opening is a visible window, not necessarily the same size as the sheet. A window mat commonly overlaps the sheet edges, while a separate mounting method supports the artwork. The appropriate overlap depends on the artwork and mounting plan. Tell the framer what should be seen and let the cutting specification reflect that decision.
Consider a print with an 8 by 10 inch image on an 11 by 14 inch sheet. An opening sized only for the image may hide the surrounding paper and any signature below it. An opening that reveals the entire sheet requires a different presentation. Both can fit within a larger frame, but they are not interchangeable orders.
Distinguish fitting size from outside size
The fitting size describes the space that accepts the framing package. The outside size includes the molding and determines the wall footprint. If a wall has a strict width limit, supply that limit separately and ask the framer to calculate a suitable combination of mat and molding.
Do not calculate fitting allowances yourself unless the supplier specifically asks for them. Some frame makers build a small tolerance into their dimensions; others request a different measurement convention. Adding an allowance twice can create a loose fit, while omitting a required allowance can make the frame too tight. Follow the seller's written ordering method.
Confirm depth and orientation
Provide the thickness of any existing mount or board that will remain part of the assembly. Ask whether the frame has enough usable rabbet depth for the glazing, spacers or mat, artwork, backing, and retainers. The side profile shown in a product photograph may not reveal that internal capacity.
Specify the hanging orientation and whether the work should be centered in the frame. A deliberately deeper bottom mat margin must be identified as the bottom. For a square image in a rectangular frame, include a simple placement diagram so the intended orientation cannot be confused with a rotated version.
Review the order as a drawing
Before production, request a dimensioned confirmation showing the outer frame, mat opening, and visible artwork. Compare it with your notes one item at a time. Check units carefully if the print is sold in centimeters and the frame in inches. Avoid rounding an international paper size to the nearest familiar US frame label.
If there are several pieces, assign each a short identifier and keep its measurements on a separate line. Two nearly identical prints can have different sheet borders. Do not assume one set of dimensions applies to the whole group unless you have checked them individually.
Inspect before discarding packaging
When the empty custom frame or completed work arrives, compare it with the confirmed specification before beginning installation. Photograph any shipping damage and keep the protective materials while you contact the supplier. A wrong dimension is easier to resolve before the print has been cut, attached, or otherwise altered to accommodate it.
Keep the approved drawing and final invoice. They are useful if you later order a companion frame, replace glazing, or move the piece to another wall. The most reliable measurement is not just an accurate number; it is an accurate number attached to the correct part of the object.